Data Logger
It consists of three separate pages. These are Settings, Portal Registration, Modbus Test
Settings
It consists of 2 tables. These are Data Logger and FTP Settings.
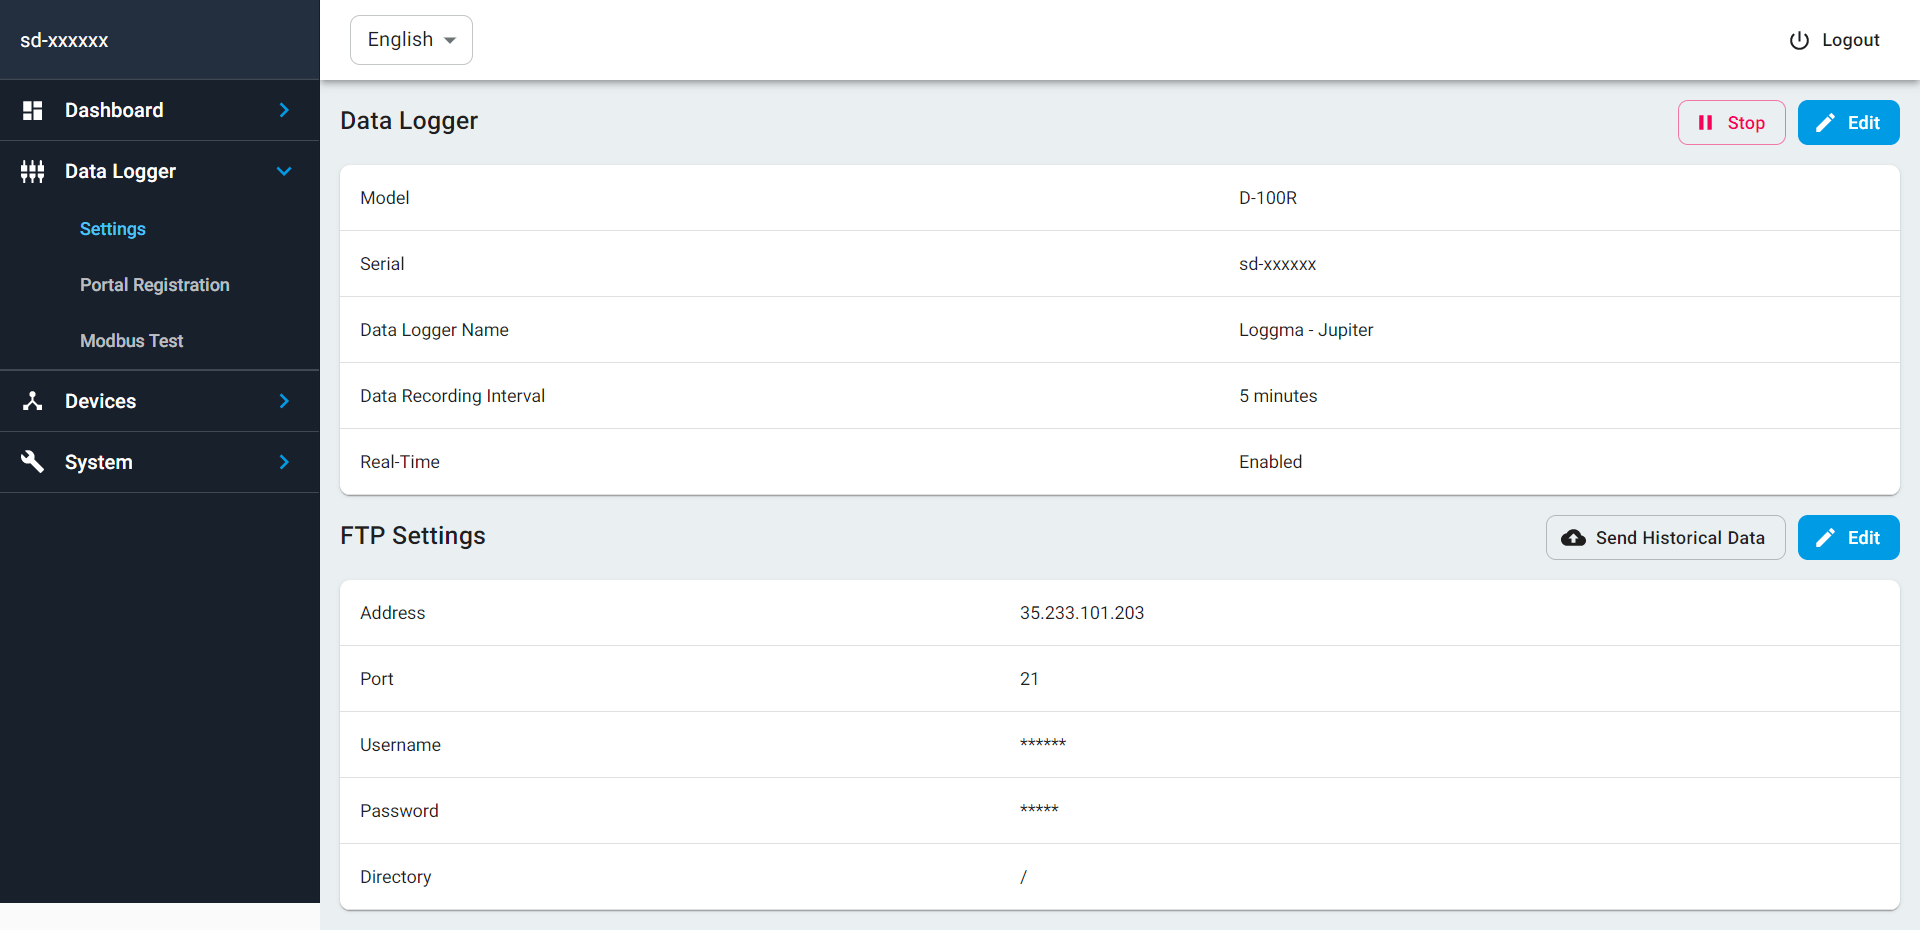
Data Logger
-
Stop: Using this button you can stop data collection.
- When using the modbus test for devices in the RTU protocol, the system should be stopped from here to prevent conflicts and incorrect data in communication. After completing the Modbus test, the system must be operated again using the same button.
-
Model: The line where the Solarify data logger model is written.
-
Serial: The section where the serial number of the Solarify data logger installed in the solar power plant is written. This number is device specific.
-
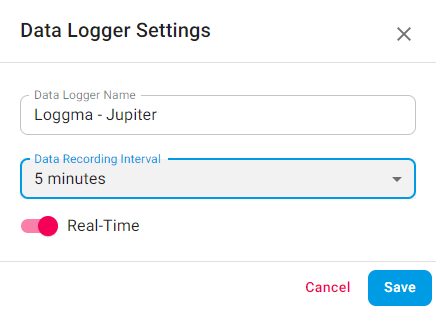
Data Logger Name: The section where the special name you assigned to the data logger is written by using the edit button at the top right.
-
Data Recording Interval: The part that shows the interval at which data is sent to Solarify.io. 5 or 15 minutes can be selected from the Edit button.
-
Real Time: The section in the Dashboard that shows whether the real time values page is enable. It can be disabled or enabled from the edit button.
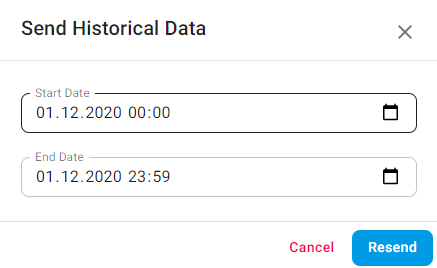
Send Historical Data: This is the button used to send the data in the data logger that has not been sent to Solarify. Missing intervals are entered and sent again is pressed.
Portal Registration
It is the page that shows to which power plant the data is sent, the registration status of the plant and whether the communication is working.
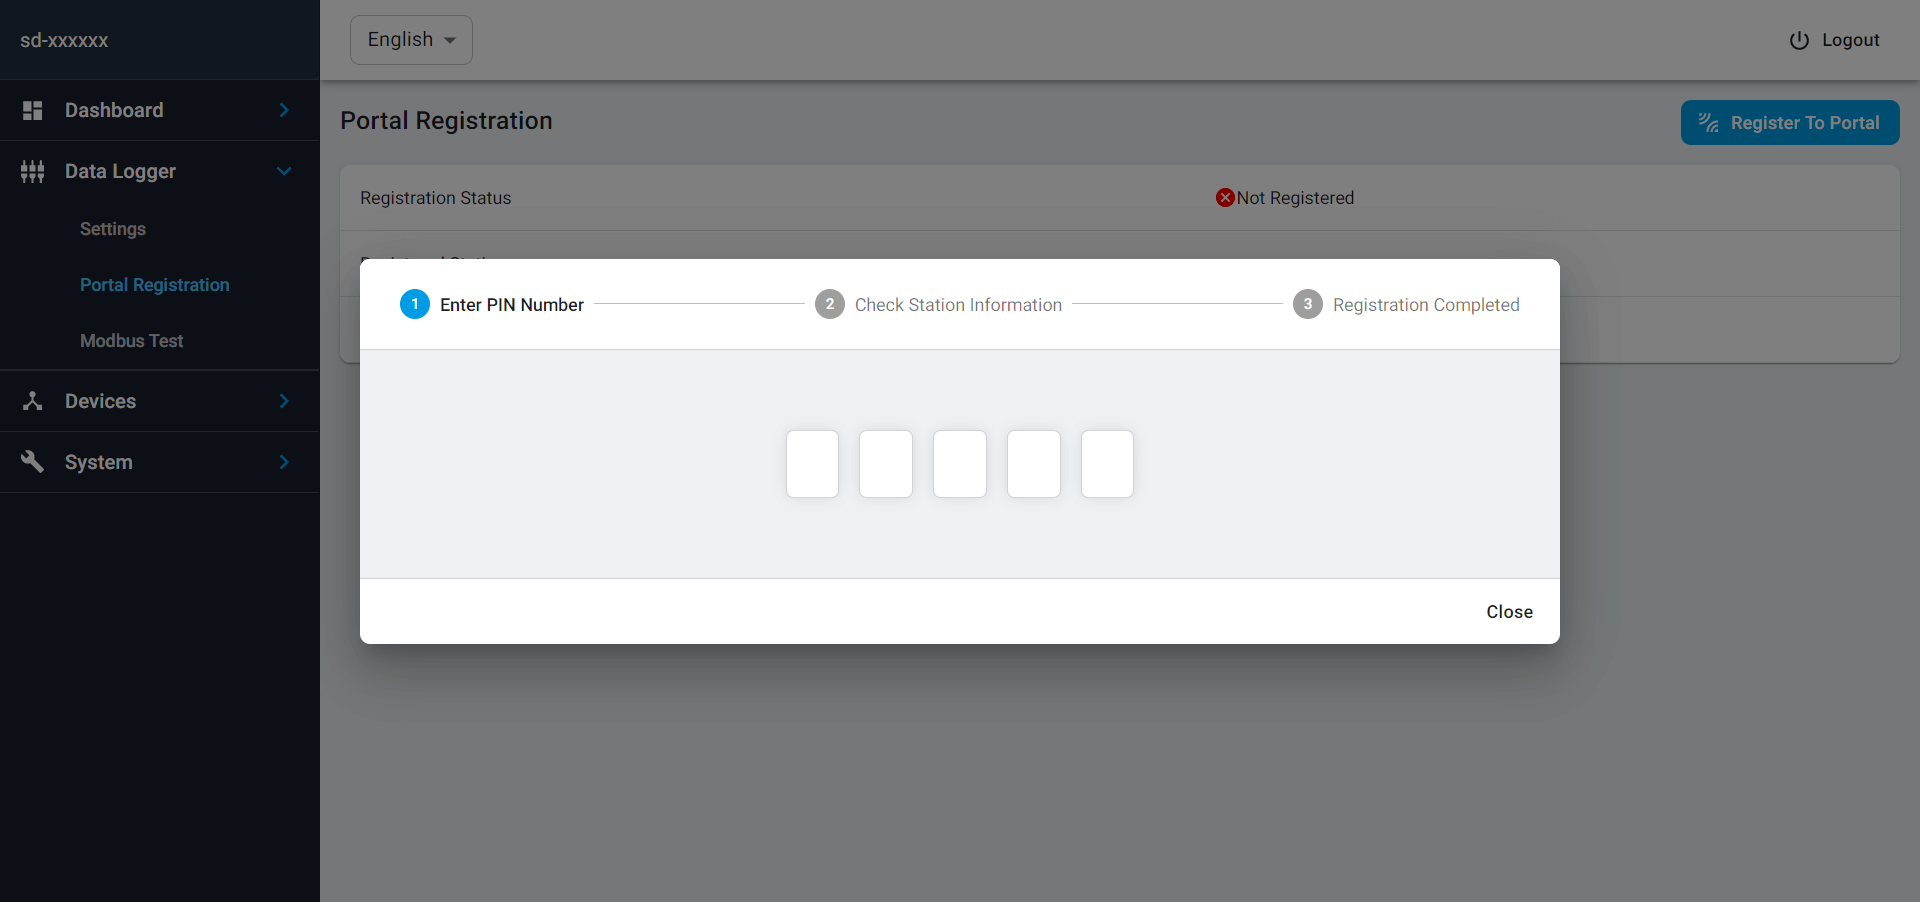
For registration;
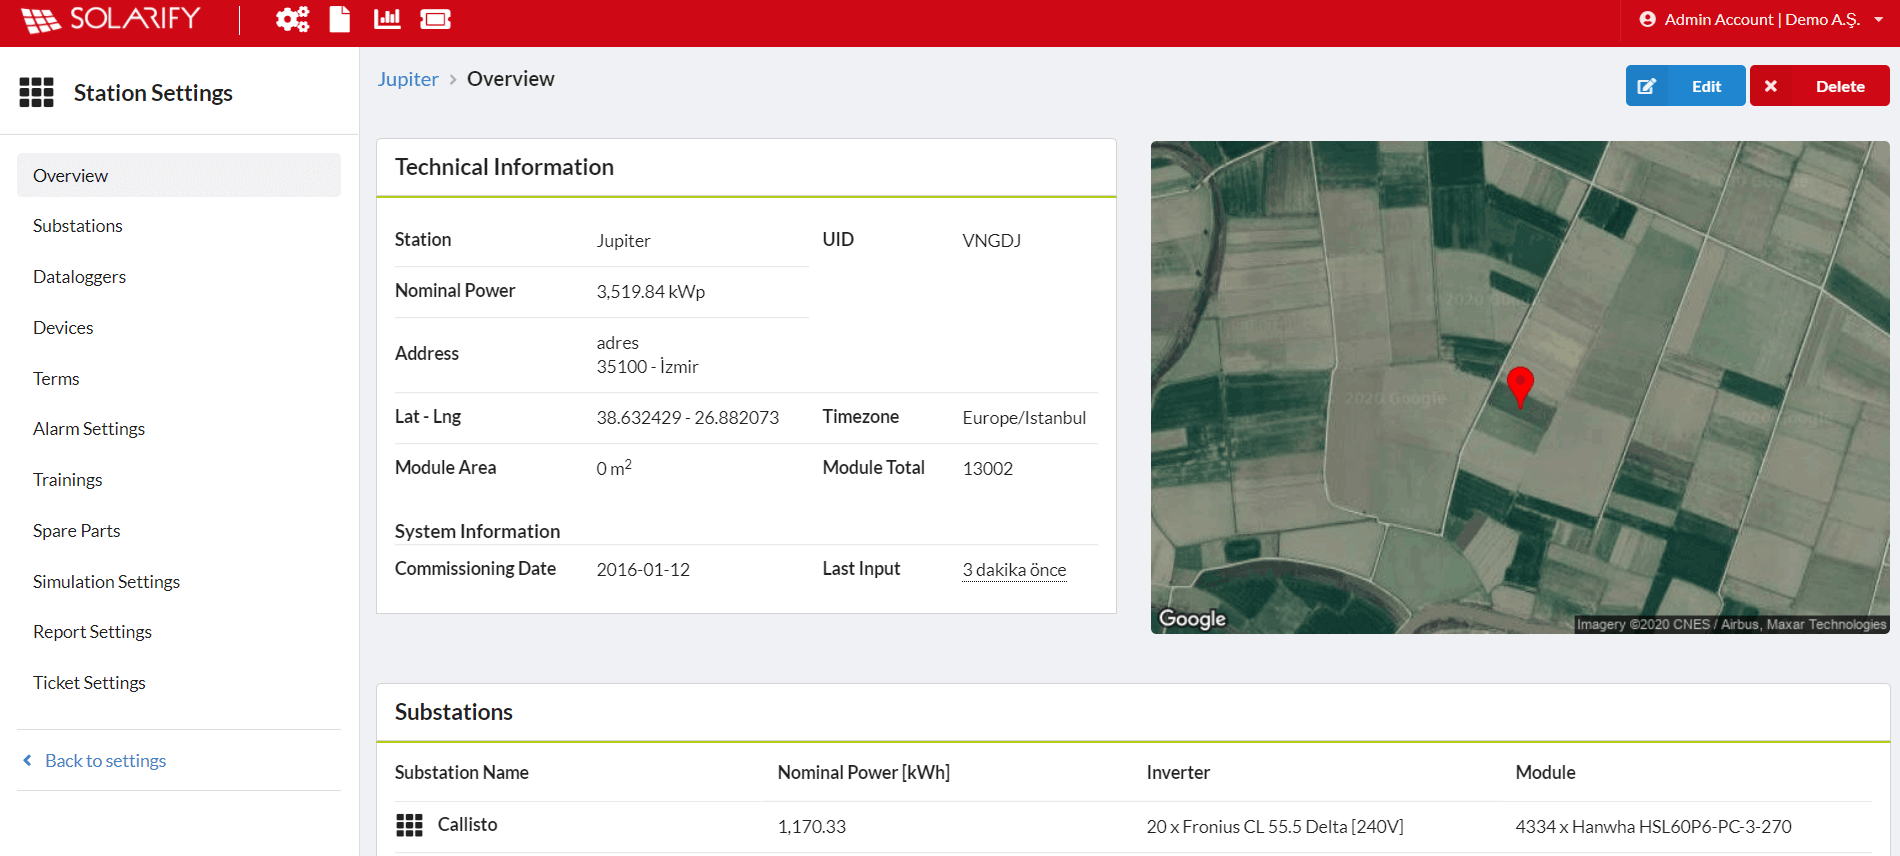
- Go to the settings page on solarify.io of the power plant to be registered. Copy the UID that written in Overview page.
- Enter this number in the small screen that opens.
When the registration is complete, the page is displayed as below.
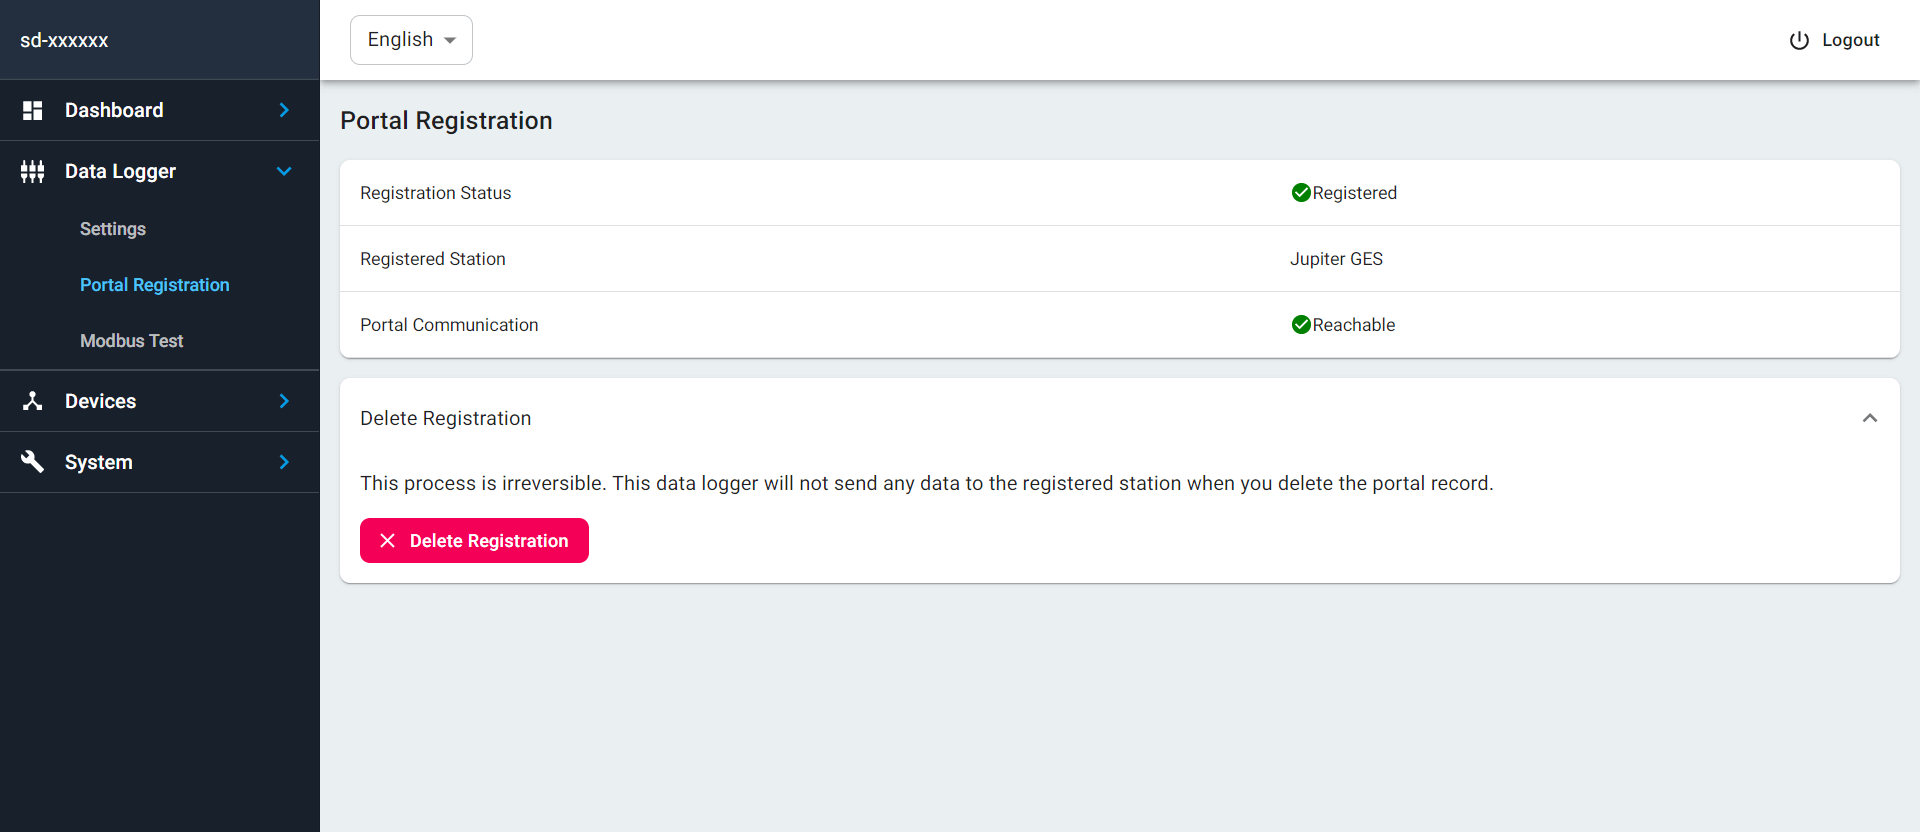
Attention: If the registration deleted, this data logger will not send any data to the registered power plant.
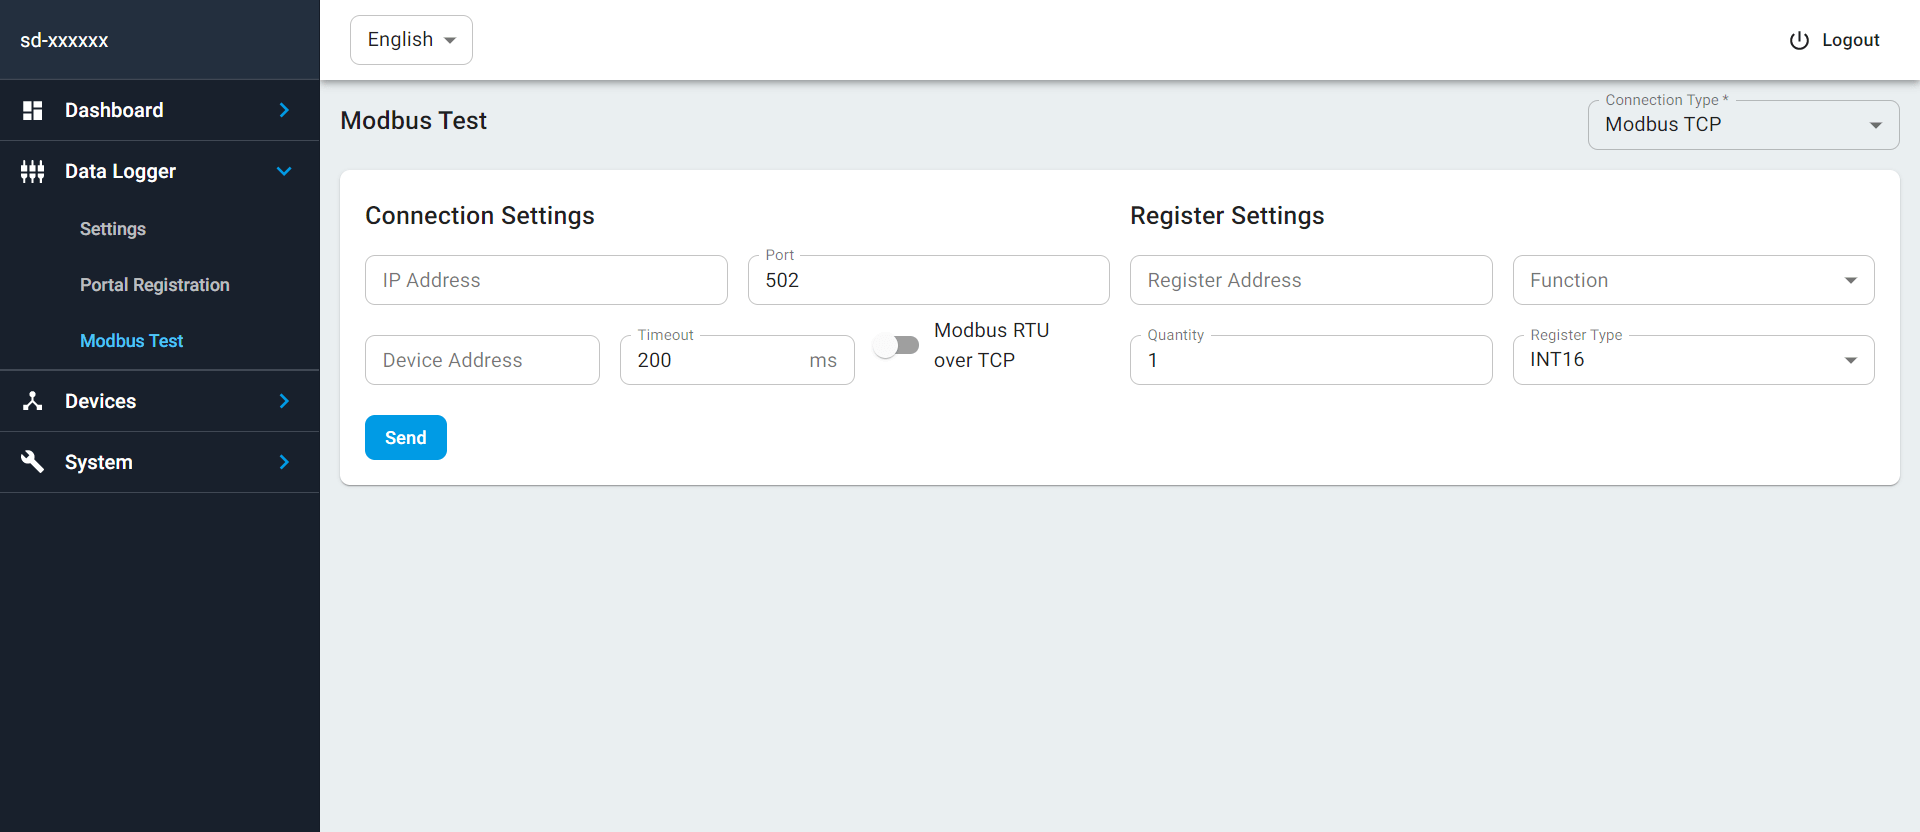
Modbus Test
It is the page used to test communication with devices with data logger.
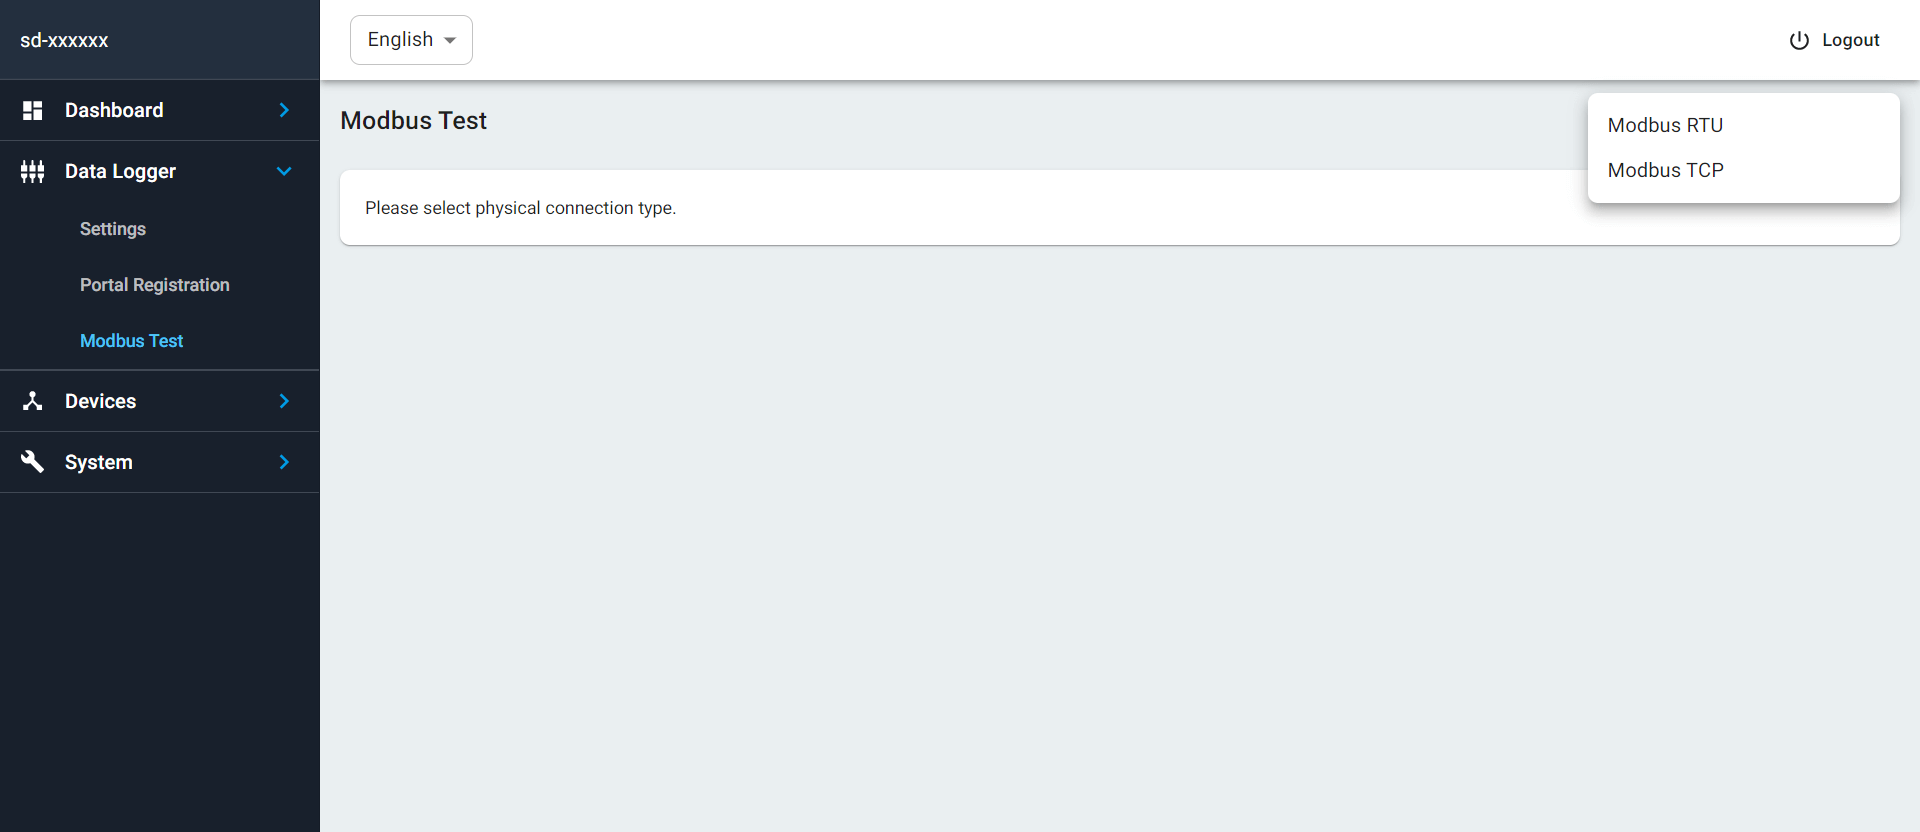
First, connection type is selected from the upper right. The connection and register settings determined during the installation are entered correctly and the send button is clicked.
For Modbus RTU;
 Attention: If testing is done over Modbus RTU, the service must be stopped from "data logger -> settings", otherwise, conflicts and wrong data may be seen in communication while using modbus test.
For Modbus TCP;